-

Magic Moments: How to Take Great Family Photos in National Parks

Follow a few simple rules to bring home album-worthy images
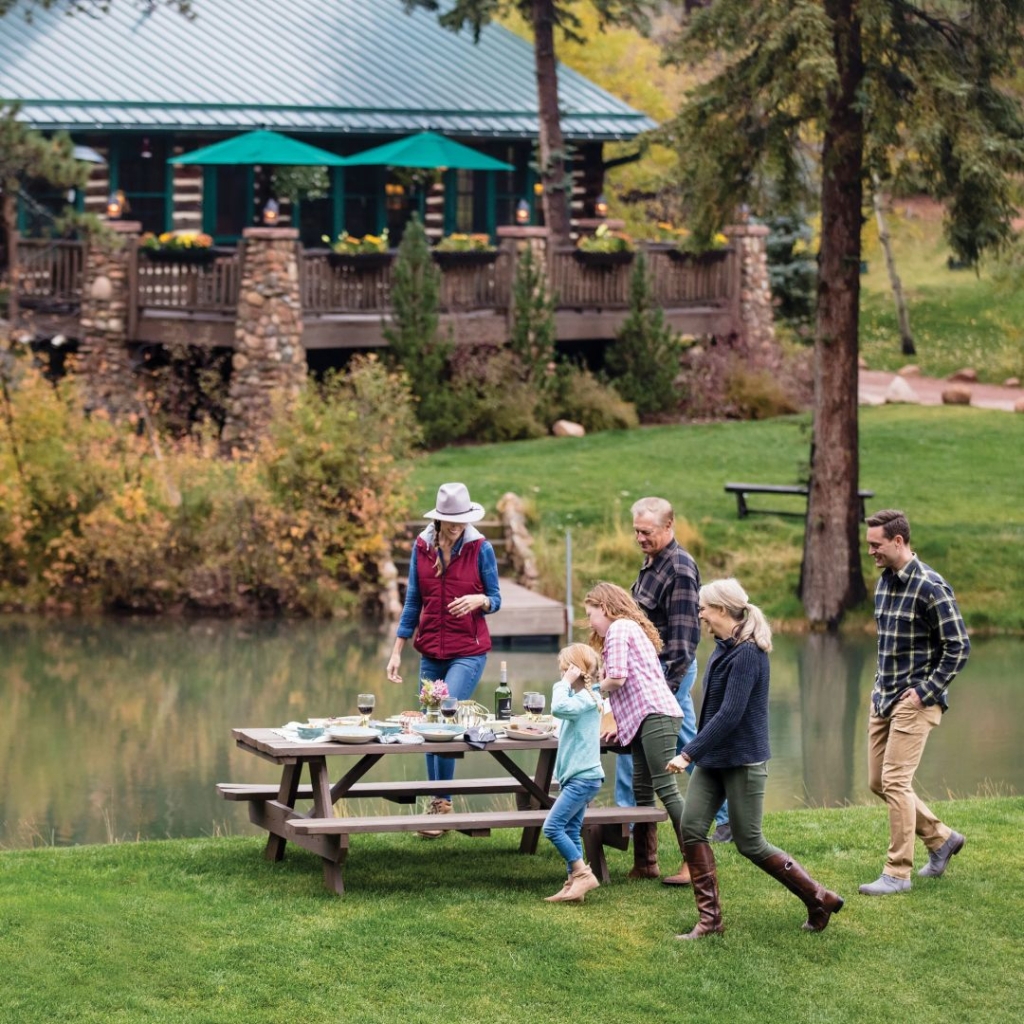
Photographs provide one of the prime pleasures of going on a family vacation: the ability to relive the trip months and years later. Viewing images of your grade-schooler wide-eyed at a geyser, your teens standing triumphant at the top of a difficult trail, and your gang picnicking in a mountain meadow make the memories come alive again.
But capturing those shots can be tricky. “Framing and lighting are the key elements of taking great photographs,” says Irene Abdou, of Irene Abdou Photographs [ireneabdou.com]. A professional photographer in the Washington, D.C., area who likes to shoot families in outdoor settings, Abdou provides tips for returning from your national park vacation with album-worthy images.
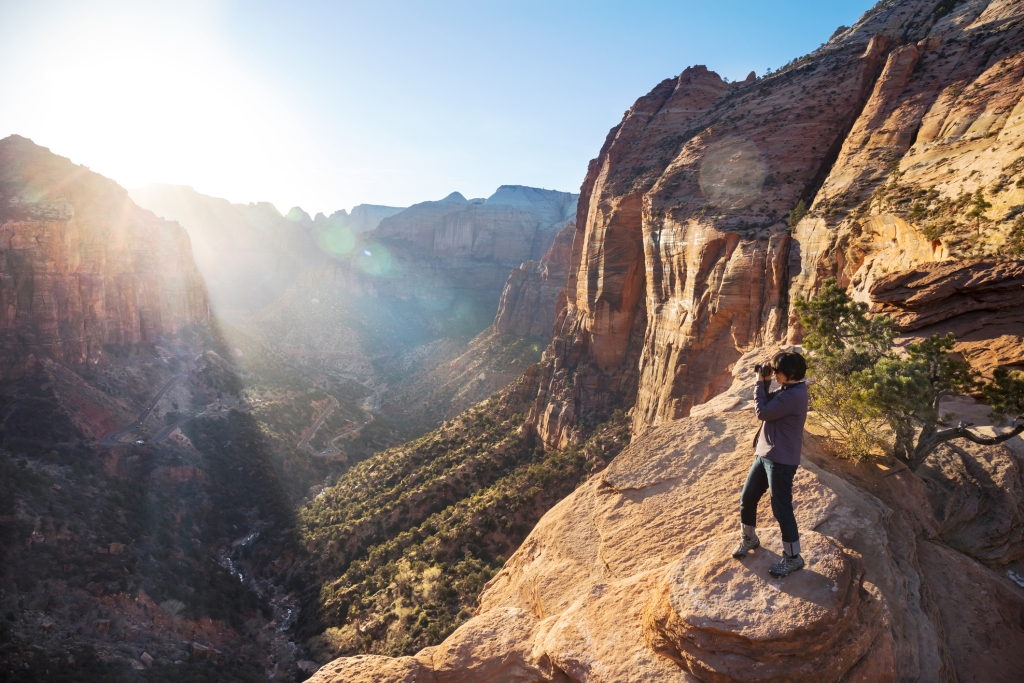
Plan for the Time of Day
Shoot around sunset or sunrise as the angle of light then brings more dramatic definition to landscapes and more color to the sky. Plan to be in some of the parks’ most scenic areas at these times and get there early enough so you don’t miss that magic moment. “In general, the best time to photograph in an open area is 1.5 hours before sunset and about 30 minutes after sunrise,” says Abdou. Called the “golden hour” by photographers, it’s when the sun is low in the sky and the light is indirect, which is much more flattering than the harsh midday sun. This is a good rule of thumb, but isn’t valid for all subjects, such as the slot canyons of Zion National Park when the best light can be at noon. If you’re photographing people and the light is harsh, position them so that the sun is slightly behind them and their faces are evenly in shadow, as opposed to being a mottled blend of bright light and dark shadow. A lens hood acts like the bill of a hat and reduces glare when the light is harsh. If your camera has a flash, turn it on to remove shadows on faces, even when it’s bright out. If you’re photographing Old Faithful at Yellowstone National Park or other similar features in the afternoon, shooting so that the sun is behind the water can make the geyser look like it’s glowing — and you may even get a rainbow.
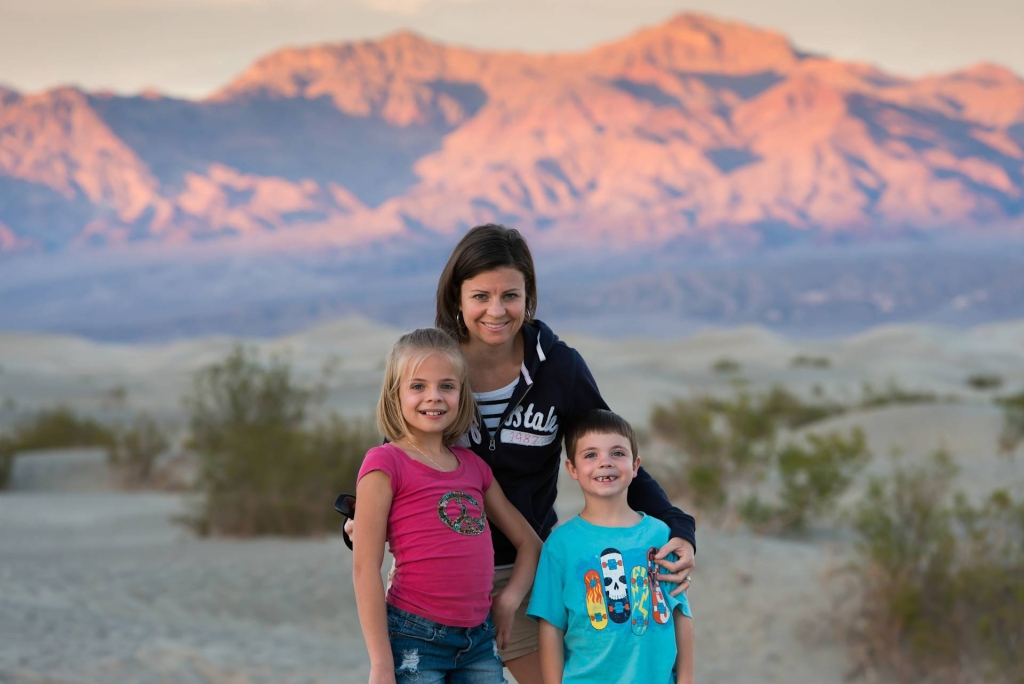
Make Sure the Light is Even
“You don’t want one person standing in the sun and one person standing in the shade. For a group photo the light should be the same,” says Abdou. Move your subjects if necessary.
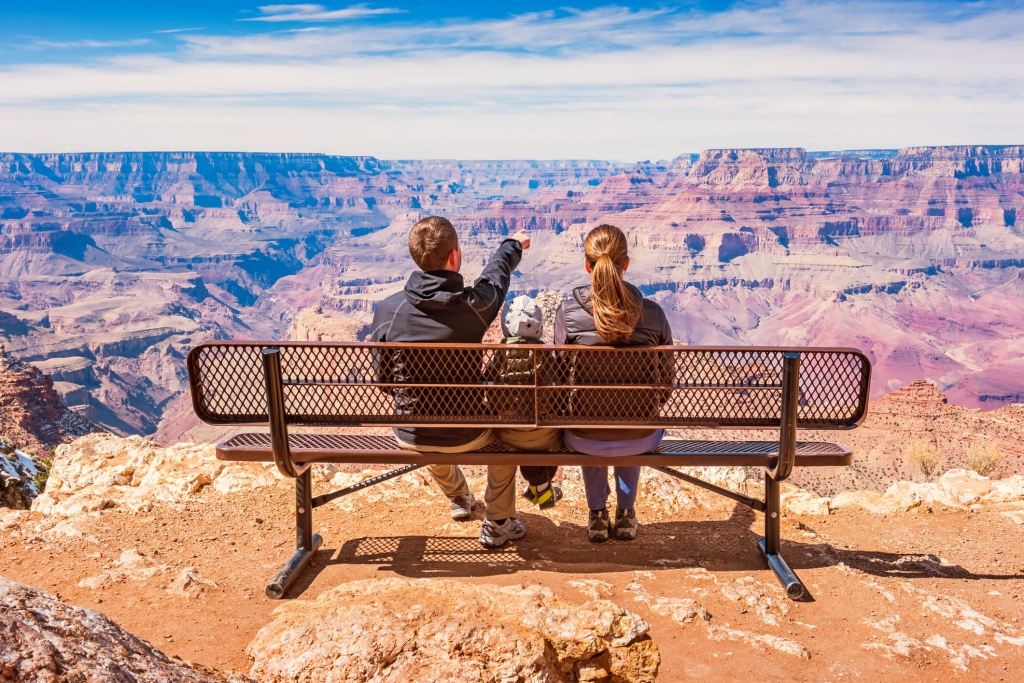
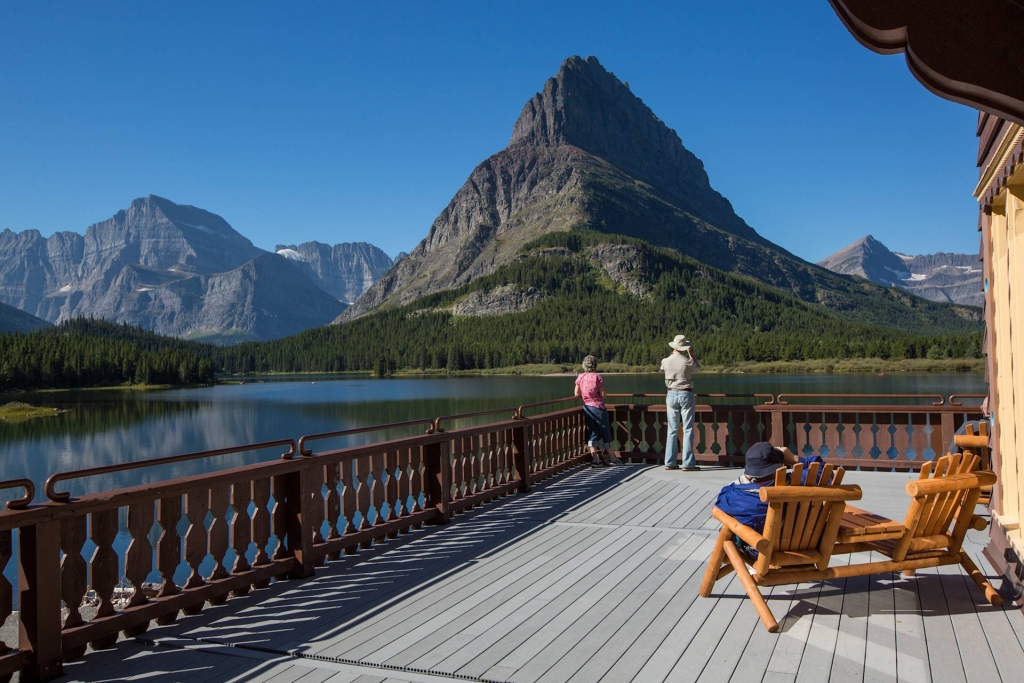
Use the Right Positioning for Scenic Shots
How to capture the classic photograph of your family in front of the Grand Canyon or other spectacular and mammoth park setting? Position yourself and the kids carefully. To include the most scenery, don’t take that iconic shot of the Grand Canyon with your kids against the rim wall. “If you want a wide expanse of landscape in the background, you as the photographer and your family should be at a distance from the background. Position the people close to the camera. That way you get the scenery, but the people aren’t small,” says Abdou.
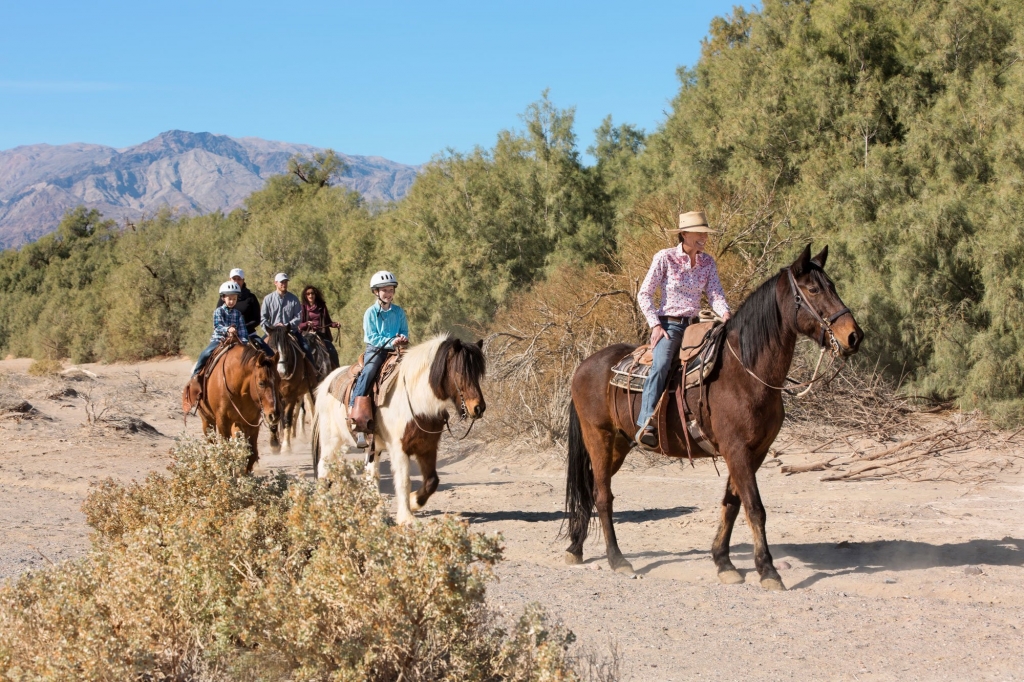
Focus on the Correct Spot for Action Shots
To shoot an image of something moving towards you — a child on horseback, for example — focus on an area just in front of the moving object. “If the horse is walking towards you and you focus on the child, when you take the shot, the child is likely to be out of focus because the horse is moving,” says Abdou. “Focus on a point in front of the horse, then wait for the child to arrive there before you shoot.”
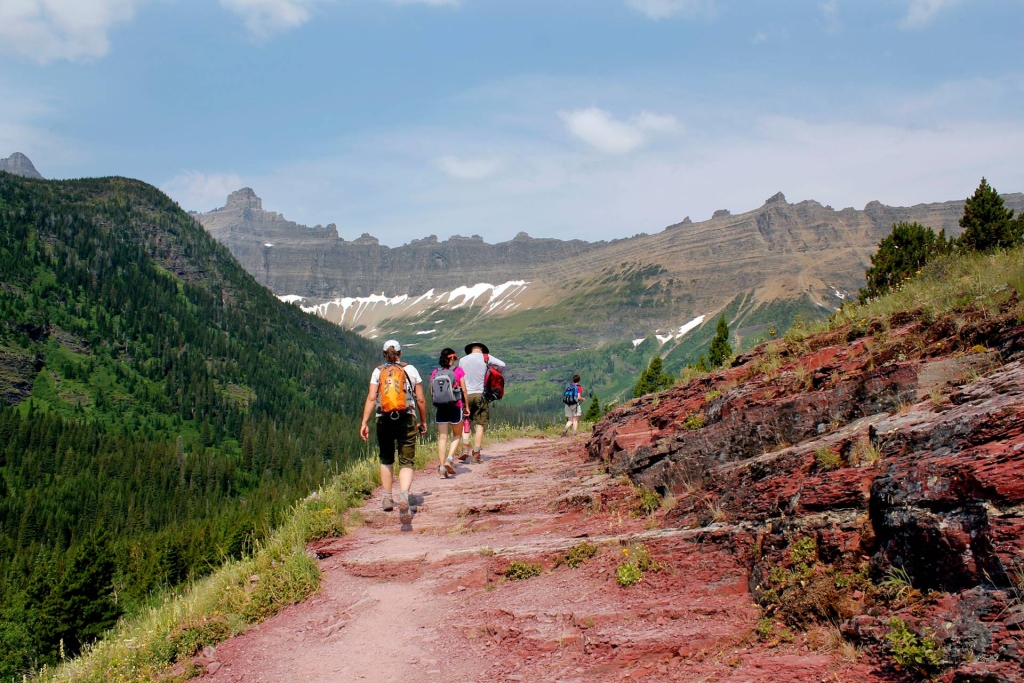
Look for Interesting Perspectives
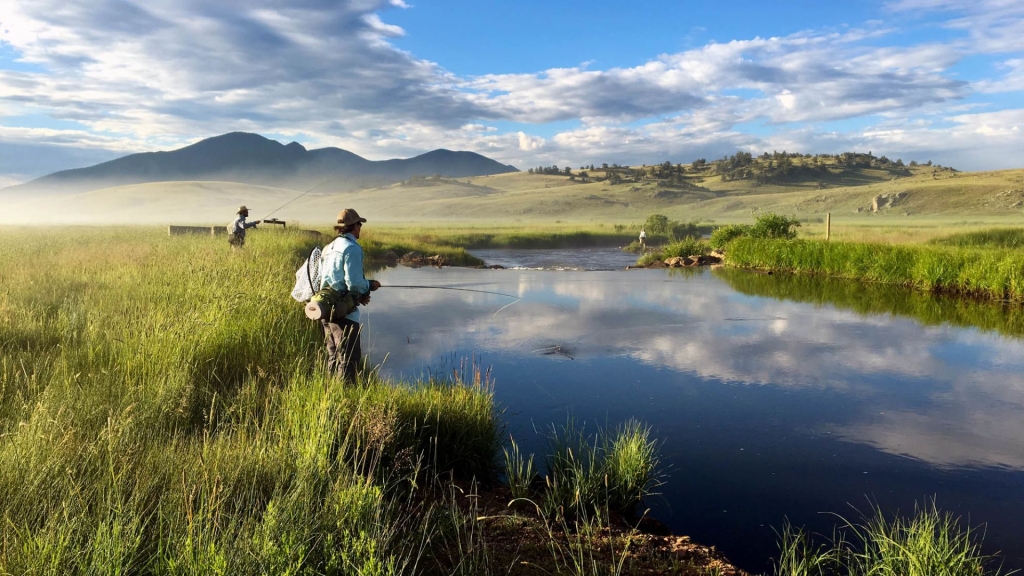
Get away from the predictable group lineup by changing the perspective. “Get down low or go up high to shoot your group and also take photographs of activities.” Snap your kids putting on life jackets, readying rods for fishing, or entering a hiking trail. This eliminates the standard police lineup look of family photographs.
Consider Your Aperture
Cameras, and even cell phones, do a marvelous job on an automatic setting. But for scenic park shots, manually controlling the camera settings can make average shots really pop. The aperture, or f-stops, is the iris of the lens and controls how much light reaches the sensor. A large aperture (2.8, for example) lets in a lot of light, good for low-light situations. A smaller aperture (16, for example) lets in less light.
Smaller apertures increase depth of field, making things both close and far appear sharp in the image. Say you’re at Rocky Mountain National Park and there’s a patch of wildflowers with mountains in the distance, and you want both the flowers and mountains to appear in focus. A smaller aperture will do the trick. Conversely, if you’d like the flowers to be in focus but the background to be blurred, use a large aperture. The downside of using a small aperture is you have to use a longer shutter speed to give light enough time to register a proper exposure on the sensor. Sometimes shutter speeds are so slow that camera movement can make the entire photo blurry. (You could increase the camera’s sensitivity to light by increasing the ISO, but this can reduce the sharpness of the image.) In that case, a tripod may be the way to go.

Use a Tripod
Tripods still have a purpose in the digital age. They do four things: allow for critical sharpness by keeping the camera completely still; allow for smaller apertures for increased depth of field; allow for lower ISO sensitivities to decrease image “noise” for better enlargements; and allow for slower shutter speeds for low-light photography or to blur motion, such as the waterfalls within Yellowstone National Park.
In addition, tripods let you get into the photo yourself by using the self-timer on your camera. A tripod doesn’t have to be big, heavy, or expensive. Small tabletop tripods work great in many situations, especially if there’s a handy rock or log nearby to place it on for increased height.
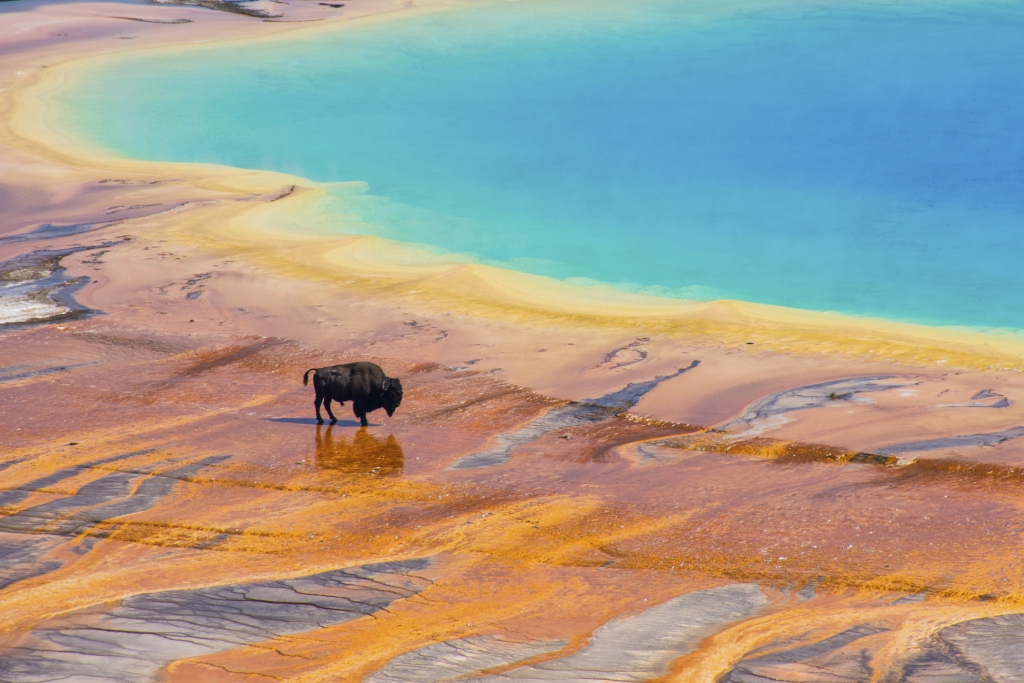
Capture Animals
From bison and wolves to elk and bears, there are plenty of opportunities to photograph wildlife, even without huge telephoto lenses. The best time to capture animals is around sunrise or sunset, when they come out to find food. Even after they retreat to the woods and scrub brush or the cliffs and crevices during the heat of the day, they’re still around if you know where to look. Ask rangers about recent animal sightings, and check visitor centers, which may have message boards reporting when and where animals were seen.
Cameras today allow for extreme cropping, so consider your composition as you can crop the image later to make the animal look bigger. For the best animal shots, make sure to focus on the eyes. When photographing bison or bears, keep in mind that their dark wool tends to absorb light, so overexpose by a stop to get a proper exposure. When photographing birds in flight, follow the bird with your camera as you take the shot. The background may be blurry, but the bird will often appear sharp.
Always follow the safety rules and keep a safe distance from all wildlife, which are unpredictable and can be dangerous. The National Park Service recommends not approaching bears or wolves on foot within 100 yards and other wildlife within 25 yards.
Know the Rule of Thirds
To apply the rule of thirds, imagine a tick-tack-toe grid divided into thirds over your scene. Place a point of interest where the lines intersect for a more dynamic composition. Try lining up the horizon with one of the horizontal lines as opposed to putting it in the middle of the photo. For instance, at Crater Lake National Park, compose the shot so that the bottom two-thirds of the image is the lake, and the top one-third is sky.
Try a Polarizing Filter
Acting just like polarized sunglasses, polarizing filters can intensify blue skies and clouds, and reveal details and reflections in water. Those professional shots of intense clouds over Grand Canyon National Park or blue sky and clouds reflected in the water at Glacier National Park were probably made using a polarizer.